
Constuction process for epoxy floors in Parrish and Lakewood Ranch!
Watch us work!
This is how we Transform your garage Floor!

Grind
Grinding the concrete ensures that we have a level surface to work with as well as creates a porous area that is necessary for a strong mechanical bond with the Epoxy base layer

Our Grinding process is virtually dustless due to the use of commercial HEPA filter vacuums. To ensure a great bond we vacuum the surface and cracks to make sure all dust is removed.
Vacuum


Cracks are filled and covered with a thickening agent combined with epoxy to create stability and a level surface,
Crack Repair
Base Coat
We apply a 8-12mil layer of epoxy. Taking our time to blend the edges with the bulk area of the floor. This layer adheres mechanically to the prepped concrete surface.
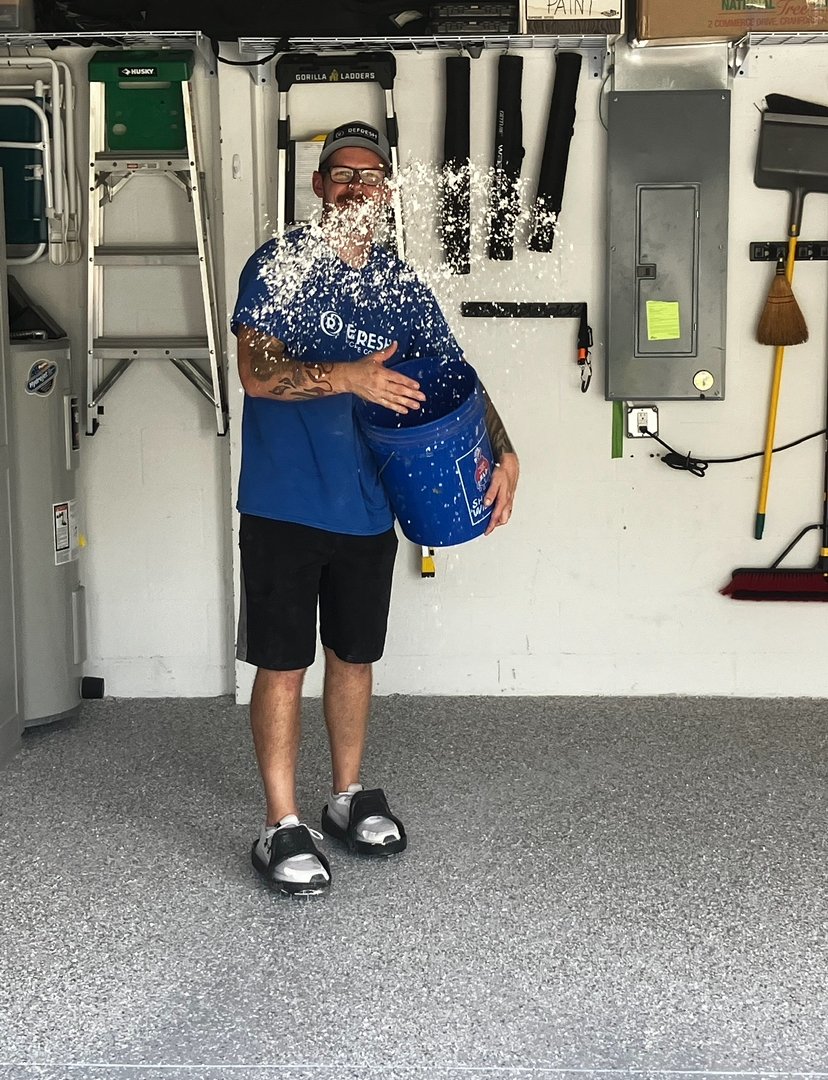
Using polymer flakes provides texture, depth and a unique artistic flair to any project and can be customized to your specific project. These flakes embed into the Base layer of epoxy.
Flake Broadcast
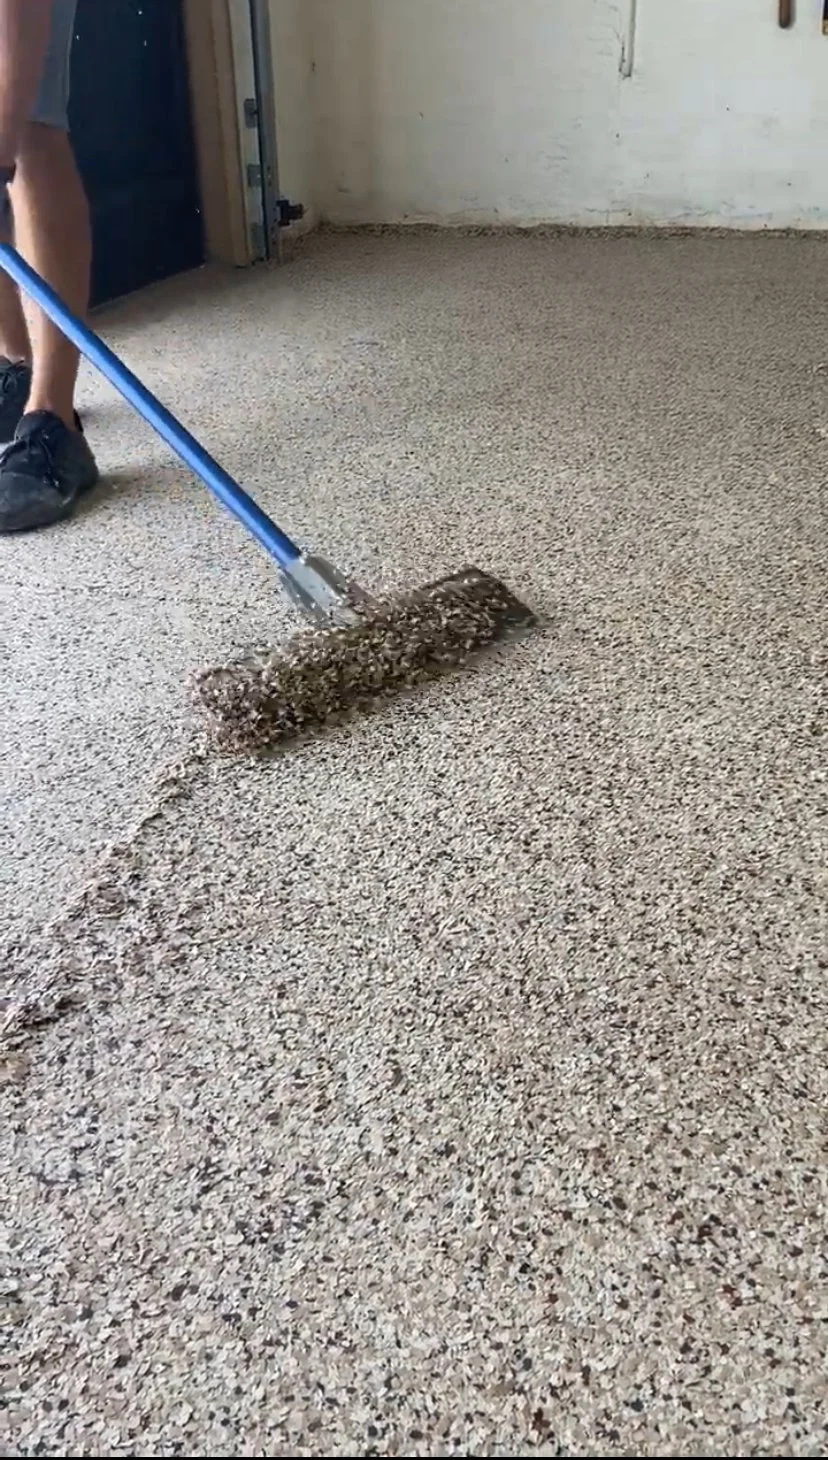
Scrape
After the flakes are fully embedded into the epoxy base layer, the floor is scraped and residual flake is collected and removed from the surface.

Top Coat

A Polyaspartic top coat is applied creating a chemical bond with the epoxy base ensuring durability and an overall great looking finish.
Cure time
After the process is finished we recommend 24 hours before allowing foot traffic and 72 hours for vehicles or other heavy equipment.

Enjoy!
Enjoy your new space!